How to use monday CRM
Customer Relationship Management (CRM) software plays a crucial role in helping businesses manage their interactions with clients and keep teams aligned on goals. monday CRM created by monday.com, offers everything a company needs to organise customer information and collaborate effectively as a team. Its standout features? Customisation!
From tailored workflows to personalised dashboards, monday CRM empowers businesses to adapt the platform to their unique needs. However, setting up and implementing a new CRM can be a lengthy process, especially for businesses with complex requirements.
But fear not! Keep reading on as we highlight how to implement and utilise monday CRM to its full potential.
If you’re new to monday.com, sign up for a 14-day free trial to get started.
1. Import your Contacts and Leads
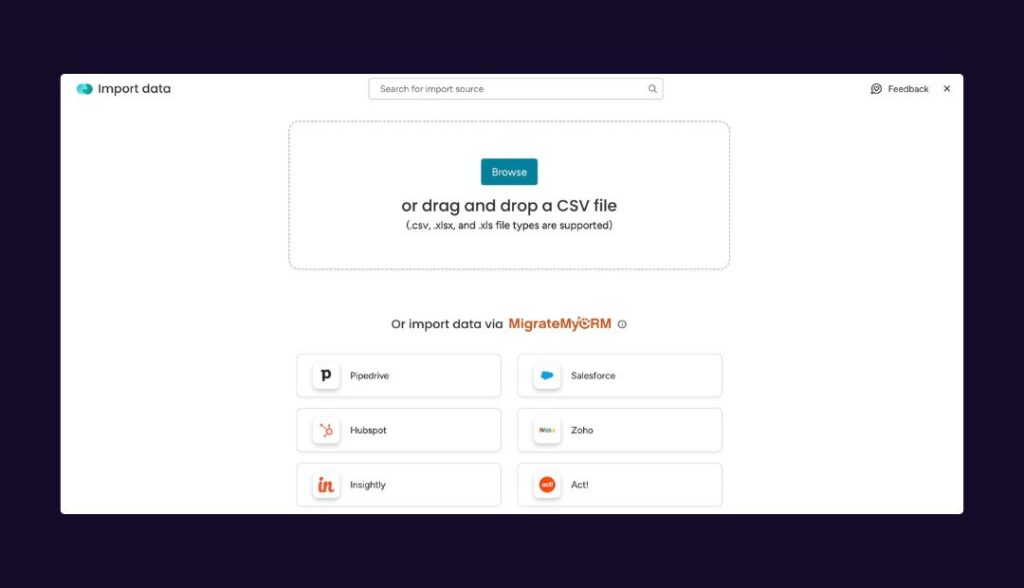
The first step is to add or import your contacts and leads into monday CRM. There are several ways to do this, depending on your company’s current CRM methods:
- Import leads manually: New or startup businesses, or those currently using physical paper methods, will need to manually add leads and contacts to monday CRM
- Imported from Excel or Google Sheets (CSV): If you already have your leads and contacts stored in CSV files or spreadsheets, you can easily import them into monday CRM.
- Automatically added through a monday Workform: You can add a monday Workform to your website, allowing leads to be automatically transferred from the form directly into your CRM.
- Automatically added through integrations (Hubspot, Pipedrive etc.): monday.com offers many integrations, including with popular CRM systems, allowing you to transfer data directly into monday CRM.
2. Qualify Your Leads
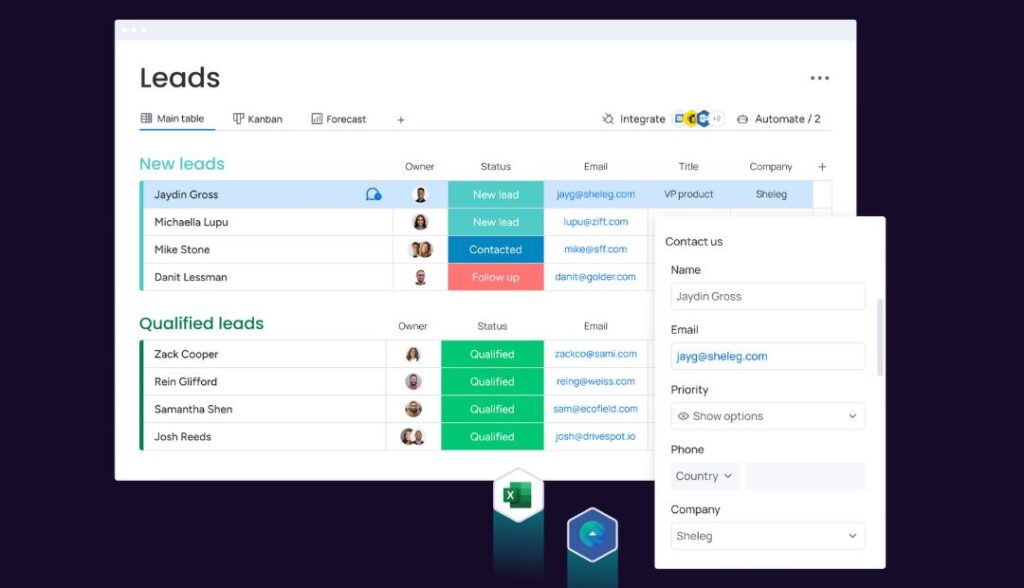
Once your leads have been added to monday CRM, your sales team can begin updating their status to define where each lead is in the sales journey (e.g. new, contacted etc.). This column is fully customisable, allowing you to change the wording or add stages tailored to your specific sales process.
When a lead is qualified, simply select “Move to Contacts” to automatically transfer them to the Contacts board.
3. Manage Contacts and Accounts
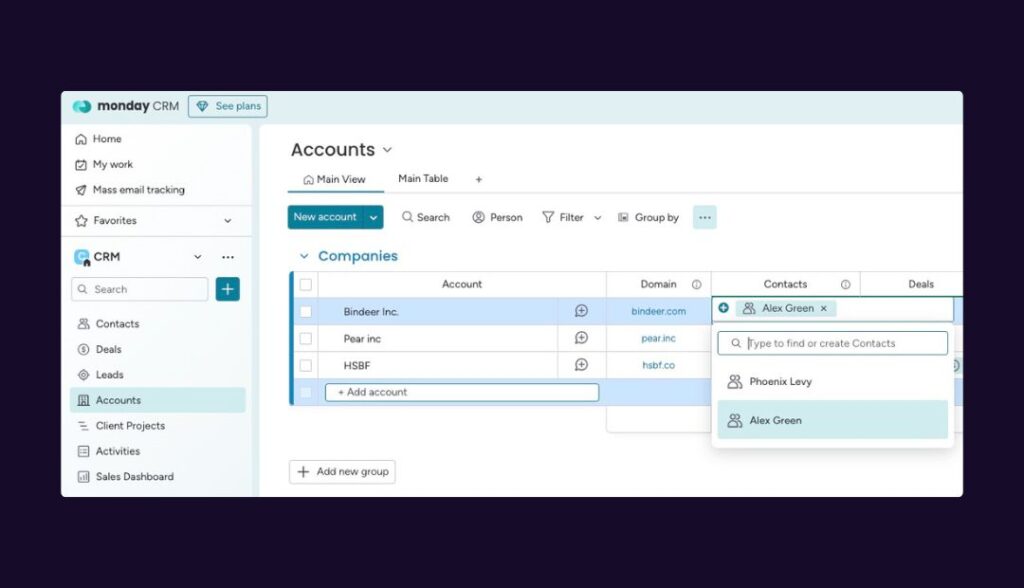
If you’re a B2C business, you might not need to use the Accounts board. However, B2B businesses will need to add the qualified contacts into the Accounts board. Fortunately, monday CRM offers a pre-made “Connect Boards” column that allows users to link the associated account with the selected contacts.
When managing your Contacts and Accounts board, your CRM managers or sales reps can edit and add fields that are more relevant to your business, such as lead source, job title, category etc.
4. Add and Manage Deals
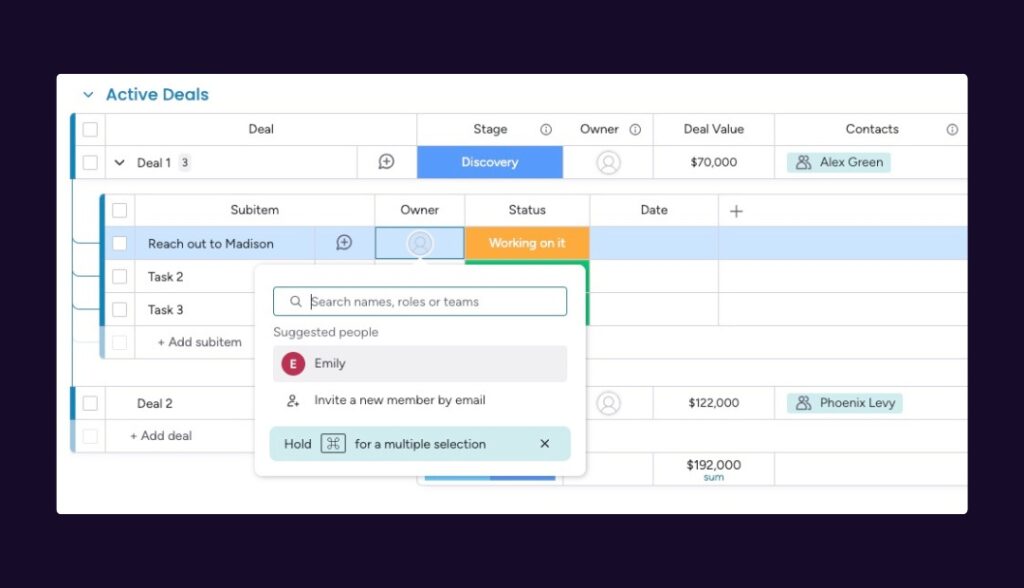
The Deals board allows you to track the progress of every deal your sales team is working on at a glance. By connecting to the Contacts and Accounts boards, you can view all deal-related details in one central location.
With the Deal Stages widget, you can also track different stages of your leads and deals in an interactive view. Whether you want to review how long a deal stays at a specific stage or get a quick overview of your sales team’s ongoing deals, the widget has everything you need. Plus, like everything else in monday CRM, it’s customisable to fit your business’s deal stages and requirements.
5. See Information in Item Card View
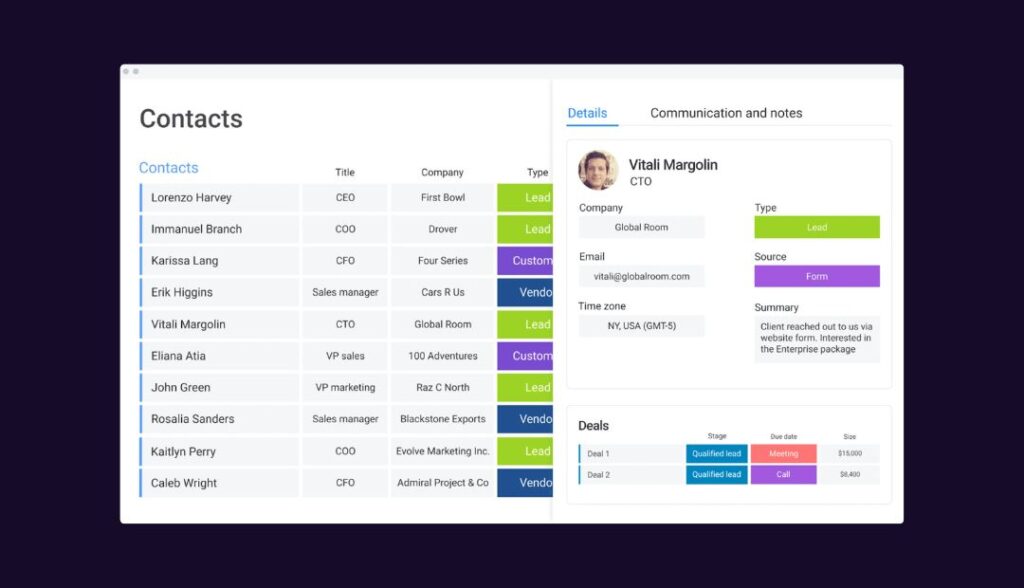
Keeping your team updated in your CRM system is essential! Sales teams need to continuously communicate about opportunities, leads and deals. Luckily, the Item Card overview tab comes out-of-the-box with monday CRM, giving all users access to everything they need in one user-friendly view.
From text updates from fellow sales reps to information on connected boards, the Item Card view can be customised to display whatever your team needs to see. Add and organise your chosen widgets to stay updated on important customer information at a glance.
6. Implement Any Necessary Views
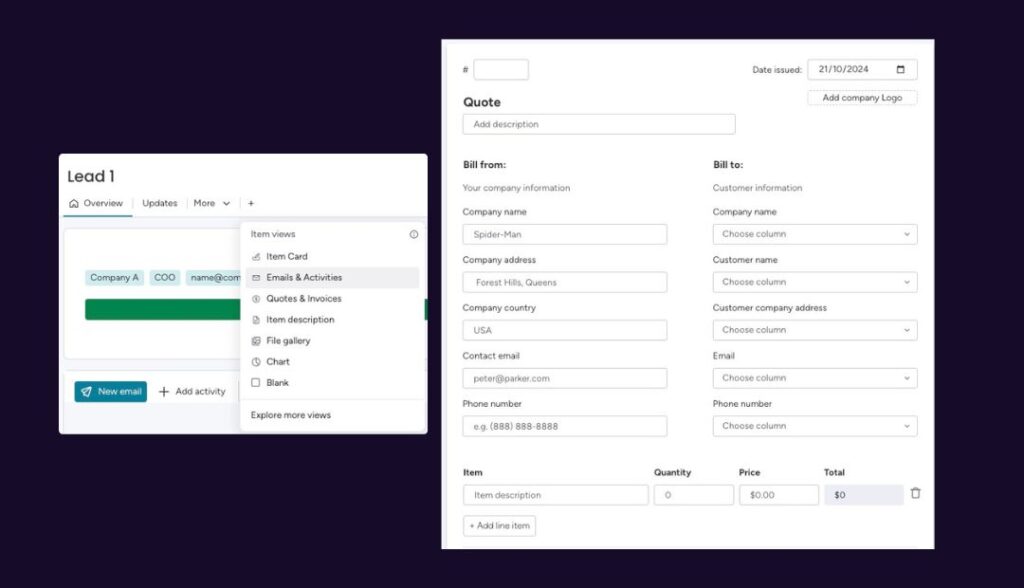
Although monday CRM is ready to use out-of-the-box, there are a few apps and views that monday.com and enable.services recommend adding to your system – and the best part? They’re completely free!
- Email & Activities Widget and View: This view allows you to send and receive emails, capture meetings notes, and manage events all in one timeline. You can also log customer interactions, such as meetings and calls, to ensure your clients stay engaged with your business.
- Quotes & Invoices View: By adding the Quotes & Invoices view, your accounts team can create quotes and invoices within your monday.com account.
7. Keep Track of Sales Pipelines and KPIs
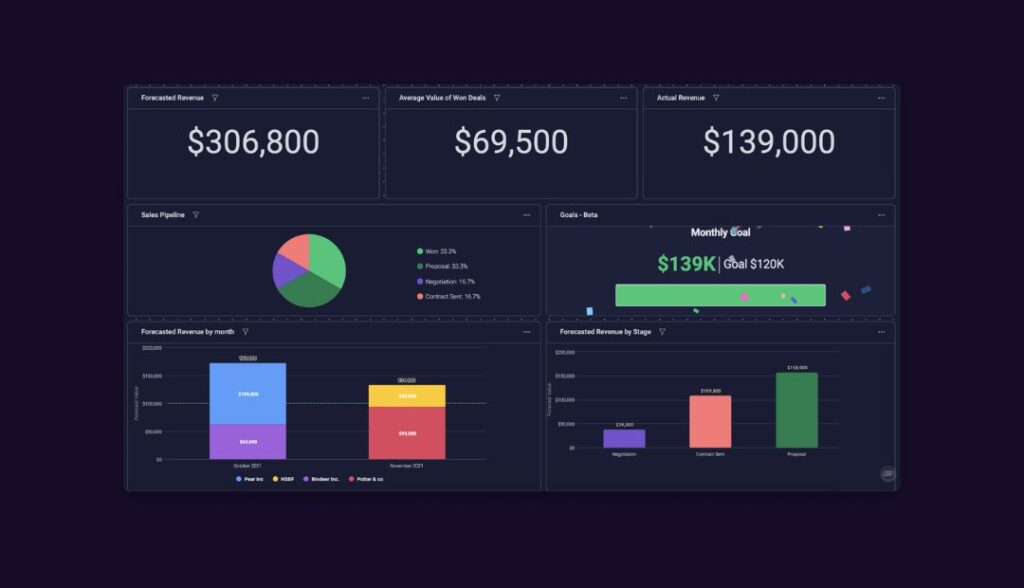
When you install monday CRM, you may notice a Dashboards column on the left-hand side. This serves as the hub for all your reports, including sales pipelines and KPIs. From forecasted revenue to monthly gross, this visual dashboard displays the key numbers you need to monitor.
The premade sales dashboard is fully customisable, so feel free to rearrange widgets, add new ones, and remove any that aren’t relevant to your business.
Those are the basics to get you started on your monday CRM journey, but don’t forget – there really are no limits! If you’re a business owner or sales manager with complex processes, reach out to our monday experts to book a free monday CRM demo or consultation.
Want to learn more? Watch our webinar on how to use monday as a CRM for extra guidance.


